How to make a raised garden bed: DIY guide
How to make a raised garden bed: DIY guide
Key takeaways
Raised garden beds yield 3-4 times more veggies than in-ground ones
It’s relatively easy to build your own raised garden
You can assemble one from a kit, or hire a landscaping professional
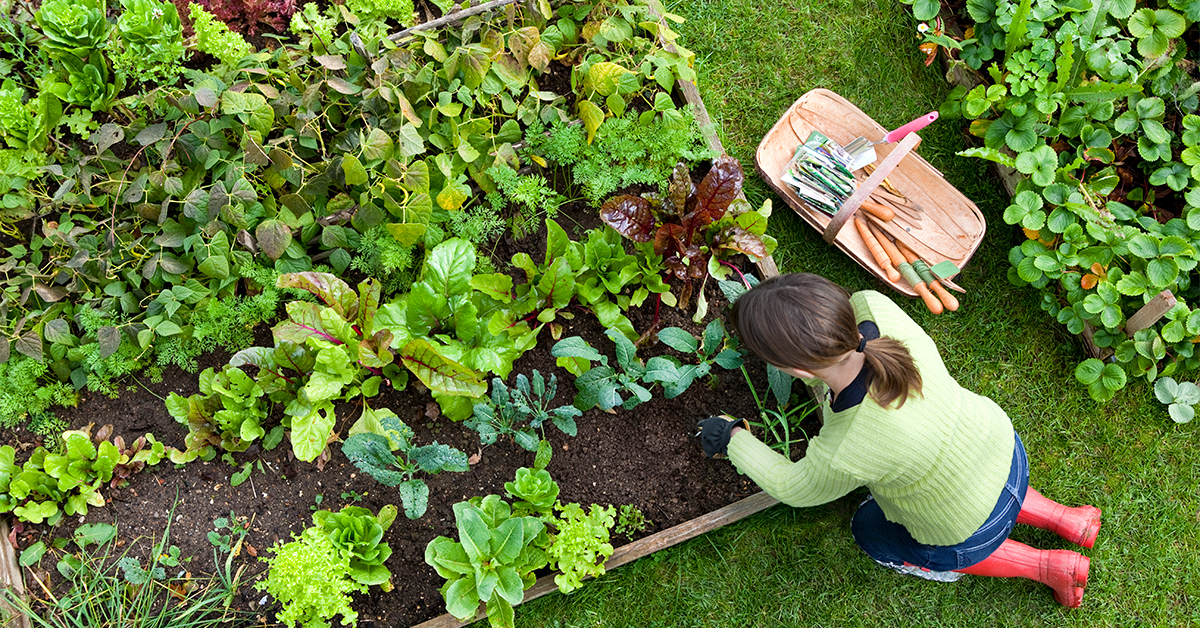
Want to grow a flower or vegetable garden but have bad soil or bad knees? Consider a raised garden bed. These “high-rise” structures, which range in size, shape, and materials, are all based on the same concept: an elevated box with no top (and often no bottom) that allows you to plant in specially prepared soil.
Built just a foot off the ground or at eye level, raised gardens are particularly popular in urban areas with limited growing space, and locations with poor soil conditions, such as heavy clay, sand, or standing water. They’re also more conducive to healthier plants.
“Most savvy vegetable gardeners recommend raised garden beds because they provide better drainage and aeration than conventional ground planting,” explains Conor Fitzpatrick, owner of Mini Farm Box in Los Angeles, which sells and installs pre-made planter boxes. “The soil stays loose and light so your plants get more rooting space—and bigger roots mean bigger plants with more fruits and veggies.”
Benefits of raised garden beds
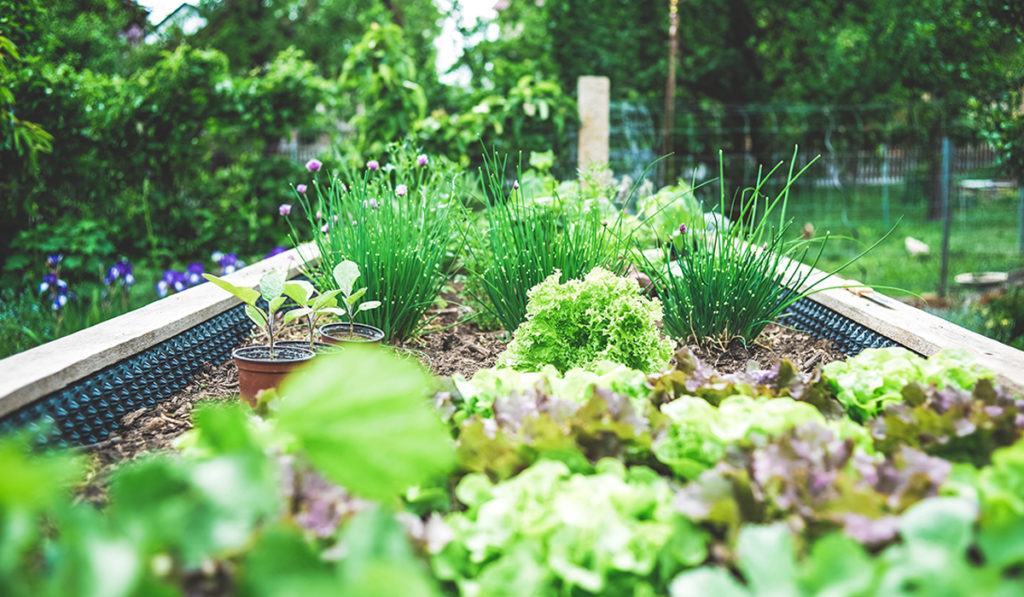
There are many reasons to plant raised beds over in-ground ones. They include:
Healthier soil. You have more control over your soil and better drainage. And, because you’re not depending on ground soil, you don’t have to worry about the wrong kind causing crops to fail. “When your soil bed is elevated above the surrounding terrain, you control its health,” says Joe Lamp’l, host of The Joe Gardener Show podcast. “No matter how bad the ground you’re starting with, anyone, anywhere, can grow a productive raised-bed garden.”
Footstep-proof. You can’t accidentally step on a raised planter box, either. Walking around in-ground gardens compacts the soil, blocking air and water from reaching plant roots. No foot traffic yields richer soil, bigger roots, and bigger veggies!
Triple the produce. Raised garden beds can be planted more densely—which means 3 or 4 times as many veggies. They also have longer growing seasons than their in-ground counterparts. That’s because they warm up faster in the spring, then stay warmer, and produce longer, in the fall.
Better pest control. Elevating your garden makes it harder for hungry critters to make a meal of your plantings, and provides eye-level visibility of destructive insects.
Easier on the knees. Best of all, the higher profile allows you to tend the garden while standing or sitting, instead of kneeling on the ground.
Types of raised garden beds
You can use different materials to create functional, stylish raised garden beds, depending on your needs and budget. Common options include:
Wood. Rot-resistant woods, such as cedar, cypress, and redwood, are more expensive than other varieties, but they’re also more durable.
Composite. Made from a mixture of wood and plastic, composite offers the look of wood but is more durable and lower-maintenance.
Masonry. With cement, you can combine bricks, concrete blocks, and stones to create a permanent retaining wall. Or stack cinder blocks without mortar, making the raised bed easy to disassemble and more portable.
A wooden raised garden bed, for example, is relatively easy to build on your own, but you can also assemble one from a kit or hire a professional to customize one for you. Whichever option you choose, here’s what you need to know.
DIY a raised garden bed

DIY facts
Skill level: Easy/intermediate
Cost: About $35–260, depending on box size and materials (pricier lumber, tools, and soil all add to the cost). Includes cost of filling the box with soil.
Time: A few hours
Tools required:
Treated wood boards
Circular saw
Power drill
Deck/exterior screws
Screwdriver
Planter wall blocks (optional)
Trigger clamps
Right-angle clip clamps
Hammer or mallet
Landscaping fabric
Gardening supplies
Safety glasses
Earplugs
Soil (16 bags needed, on average)
If you’re ready to build your garden bed as a DIY project, follow these step-by-step instructions:
Choose the planter box’s dimensions
The standard size of a raised garden bed is about 4 feet wide and up to 8 feet long, which allows easy access from both sides. A longer bed could provide more space for plants, but it’s also harder to maintain. Make sure you can reach the center of the bed from any point, advises home improvement expert Danny Lipford of Today’s Homeowner.
The height will depend on the kinds of plants you want to grow.
Herbs and salad greens. Make your bed tall enough for 6-12 inches of soil.
Vegetables (including root veggies such as beets). You’ll need at least 12-18 inches of soil.
Also, think about the position you want to be in when you’re gardening. Raised garden beds that are at least 18 inches tall are more comfortable if you plan to sit on a chair. (This is especially accommodating for wheelchair users.)
Purchase and size your wood

Figure out the dimensions of your garden bed before you go shopping for wood. You can find pre-cut boards 2 inches thick and 6 inches high at nearly any home center or lumberyard. They’re commonly 8 feet long, so ask if the store will cut them to the lengths you want.
Make sure you have enough to surround all four sides, even after stacking the 6-inch boards to create a bed that’s 12 inches or 18 inches high. Pressure-treated wood works well for this.

Pro tip: If you have pallets of wood left over from another project, you can save a few dollars by using them for this project. Make sure to coat untreated wood with sealant first, to help protect it from moisture and the elements.
If you can’t find the right sizes, and the store can’t cut the boards to fit, you can do it yourself: Measure and mark the dimensions you want your garden bed to be and cut the boards with a circular saw. You’ll need to wear personal protective equipment, including safety glasses (or a face shield) and earplugs.
You’ll also need 2x4s, cut to the same height as the walls, for posts that support the structure. Prepare 10 of these posts for an 18-square-foot gardening bed, for example. That includes one post for each of the four corners, and also one or more to support each wall.
For a 3-foot-long end wall, place one post in the center; for a 6-foot-long side wall, place two posts at even intervals.
Pro tip: You can save time and effort by using premade planter wall blocks (bricks with vertical slots in the sides) for the corners. Stack 1–3 blocks to achieve the height you want, and connect them according to the product instructions. Then simply slide the walls into the slots.
Construct the garden bed

Follow these steps for an attractive, raised wooden garden:
1. First, form each wall, starting with the longer sides. Lay each wall’s 2×6 boards on a flat surface or sawhorse—this is just a staging area to attach each wall and post.
2. If needed, stack multiple 2×6 boards until you achieve the desired wall height for your garden bed. For instance, you’ll need to lay another 2×6 on the sawhorse, just above the first one, for a wall that’s 12 inches high.
3. Next, lay the 2×4 corner posts on top of the long boards, flush with the ends. Hold them in place with a trigger clamp. To do this, place the clamp’s “jaw” around the end of the long board and the corner post on top of it, and pull the trigger to tighten the grip. You can stop pressing the trigger once the workpieces are held firmly together.
4. Drill two pilot holes into each corner post. One hole should be 1½ inches from the top and the other should be 1½ inches from the bottom. Then use galvanized deck screws to attach each post to the end of the wall board.
5. Now, attach one or two (evenly spaced) support posts to the middle of each wall. Use the trigger clamp to hold each center post and wall together.
6. Now that you’ve attached the corner posts and support posts to each wall, you can remove each of the four assembled walls from the sawhorses.
7. With a friend’s help, position each wall at the intended location in your yard. Use four right-angle clip clamps to firmly join all the walls together. Each right-angle clamp has a piece that butts into the wood directly in front of it and a piece that butts into the wood perpendicular to that one. A piece on the back applies pressure to both walls. This ensures a tight fit.
8. Drill pilot holes and attach each wall to the next one with deck screws, to form your completed garden bed.
Put the finished bed in place
Place the garden box wherever the ground is level and sunlight is plentiful. Most vegetables require at least 8 hours of full sun each day, so avoid shady and wet areas to grow your veggies. One exception: Some ornamental plants, such as caladiums, ferns, and hostas, do well in shady areas.
Once you’ve found a location, grab a spading fork and shovel to loosen the dirt. This will allow your plants’ roots to grow deep into the ground. Then position the garden box over the newly excavated ground.
Garden soil and planting tips

It’s time to fill in the box!
Adding rocks and a layer of organic material—such as grass clippings, leaves, and wood chips—at the bottom will improve drainage and prevent rot, fungus, and disease. Mix new topsoil with ground soil for a more even texture and better drainage. Then mix in organic matter such as compost or safely handled manure.
Test soil health
Unhealthy soil can stunt plants’ growth and development, so test it for the right nutrients— DIY testing kits are available at home-improvement and gardening stores. But there are telltale signs of good soil, too. If the soil quickly absorbs water and attracts earthworms, it’s probably fine. As your plants grow, look for green foliage and not too many weeds.
Protect your garden box
Covering your soil with more mulch—such as leaves or wood chips—will protect it from the elements. It also helps prevent soil compaction and reduces the need for weeding.
Consider stapling landscape fabric, also called a weed cloth, to the top of each wall so it covers the entire raised bed, Lipford suggests. This will act as a weed barrier, and help keep the bed neat and low-maintenance. Cut a hole in the cloth for each plant, and cover the cloth with mulch.
Pick plants
Don’t know what to plant? Ask an expert at a nearby gardening store, or contact a master gardener to learn about the best plants for your region. This program is run out of local agricultural-extension offices, and provides university-trained volunteers to help with planting advice.
Pro tip: Because they provide a controlled environment, raised garden beds require significantly less maintenance than in-ground gardens. Simply follow your nursery’s directions to care for the plants and vegetables you purchase. Provide as much shade or sun, water, and fertilizer as recommended.
Related: Learn how to keep hungry critters away from your fruit and veggie gardens. Get pro tips on garden pest control.
Cost to build a raised garden bed, with help

The DIY route isn’t for everyone. If you don’t have the time or inclination to build your own garden bed, you can buy a prefabricated kit or hire a professional.
Buy a planter box kit
Prefab garden-bed kits are affordable, easy to assemble, and available in stores and online (shipping fees may apply). Prices vary, depending on the bed’s size, style, and framing material. For example, a basic wooden kit that’s 48 inches long, 24 inches wide, and 30 inches high might cost $90. Larger kits can cost as much as $200 or more, if they come with extras like a trellis.
Prefab kits are ideal for first-time DIYers. They come with basic building materials—including composite boards and brackets—but you’ll still need tools, such as a hand or power screwdriver and a hammer or mallet.
Hire a landscaper

For a fully customized garden bed—or more permanent hardscaping, such as a brick garden structure or mortared masonry—it’s best to hire a landscape contractor to build it for you. They’ll even fill it with the right soil and do the planting. Prices vary based on materials and region.
Find a landscape contractor in your area.
Raised garden bed gallery: How the pros helped Yelpers
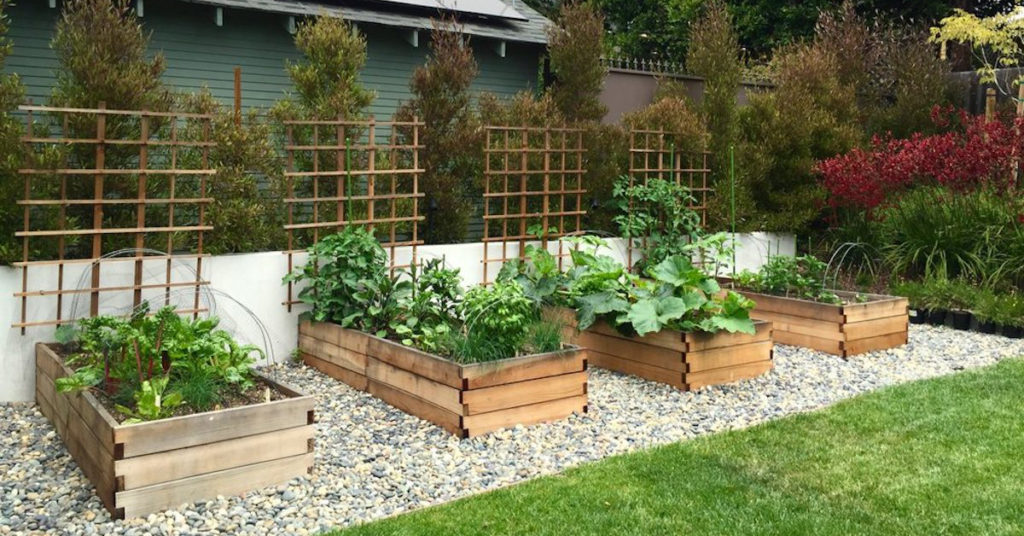
Need inspiration for your raised garden? Browse some of the creative flower, fruit and vegetable boxes pro landscapers built for Yelpers.



Find a professional landscaper
Tell us about your raised garden bed project and we’ll connect you with trusted local pros.